

Offensive Security’s CTP (Cracking the Perimeter) is a more advanced training for penetration testing leading to Offensive Security Certified Expert if the 48-hour exam is cleared. The course is basically offered similarly to how Penetration Testing with Kali leading to Offensive Security Certified Professional is set. The difference however is that the course for PWK gives a student access to a corporate network where one can work his/her way into getting into each machine through various techniques while CTP on the other hand concentrates more on discovering unknown vulnerabilities.
To make the story short, PWK-OSCP’s outcome is for a student being able to do practical penetration testing through methods starting from information gathering up to post exploitation while CTP-OSCE’s outcome is for a student being able to do vulnerability discovery from source code analysis or fuzzing up to exploitation through various techniques. To continue, before even explaining what went through to achieve this, let me share a little background of myself which has been shared here.
November 2017 was when I took my 2nd attempt on OSCP because I flunked on my first attempt for not following a methodology on taking down machines. After OSCP, I learned loads of new stuff but the journey went on. Deciding to take the CTP course was quite challenging because of the reviews mentioning that CTP was very hard! This made me think a lot but once you start challenging yourself with the training offered by Offensive Security, you’ll definitely be pulled back for more!
Experiences before getting into CTP
Before enrolling for CTP, I was already familiar with a few topics involved mentioned in their syllabus.
For instance:
Web Vulnerabilities (Cross-site scripting, local file inclusion, etc.)
Since I had some experience with software development when I was still freelancing, this was acceptable in terms of my current knowledge. The training from PWK also helped me here since PWK had a comprehensive discussion with demonstrations about this. After PWK, I was even lucky to contribute a CVE-ID through a vulnerability that I found from one CMS. I’ve shared a discussion about this including what to look for in a source code here.
Anti-Virus Evasion
I also had an experience with this after working for a small penetration testing company however, my experience here was more on a high level approach which required the source code of a penetration testing tool. I have an article about this here. In CTP, it’s more of a low-level approach which requires knowledge in assembly language and the portable executable format because you’ll be modifying a compiled executable and basically making it self-modifying. The first time I heard about this was years back when I was still trying to understand computing and checking out some cyber security topics. Back then, the theory was cool but in practice, I didn’t have the knowledge to work it out. This time, the theory still stands to be quite awesome and having the opportunity to learn and understand how to do this was way to go.
Exploit Development
For exploit development, a lot of prerequisites were needed so I had to prepare more for this. I managed to learn about how a basic stack overflow worked through Shellcoder’s Handbook but I loved how it was discussed during PWK when I was working on my OSCP. Knowledge in shellcoding is necessary here too. Before I took the course, I enrolled myself in SecurityTube’s Linux Assembly Expert – 32-bit (SLAE32). Although SLAE32 was Linux based and Linux shellcoding is different compared to Windows shellcoding on the part where APIs are being called but you’ll be able to understand shellcoding in general easier through this course. I completely skipped the assembly language part of SLAE32 because I had one whole semester back in college with 16-bit assembly, another semester for PIC assembly, and work related experiences with ARM and 32 bit assembly so if you haven’t used assembly language yet, DO NOT SKIP IT.
Wide-Area Network Attacks
I was blessed to be part of the scholarship program rolled out by Cisco for CCNA CyberOps so I had some tiny knowledge about this however, the knowledge from CCNA CyberOps wasn’t enough (at least for me) and I think this was more of CCNA/P for Routing and Switching (CCNA R&S / CCNP R&S).
Lab
Timeline
Week 1
- Got the notes and videos.
- Printed a hard copy of the notes so I can read through it physically.
- Finished up to module 7.
Week 2
- Finished all modules.
- Tried to automate parts of module 8.
- Practiced recreation of SolarFTP’s vulnerability – EDB /17527/.
- Practiced recreation of QuickZip’s vulnerability – EDB /11764/.
Week 3
- Reviewed from module 1 up to module 7 for the 2nd time.
- Combined theories from the modules.
- Practice backdooring PE compiled with ASLR.
- Practice backdooring PE + anti-virus evasion.
- Practice backdooring PE compiled with ASLR + anti-virus evasion.
- Tried Vulnserver’s GMON challenge.
Week 4
- Reviewed from module 8 up to module 9 for the 2nd time.
- Tried Vulnserver’s LTER, TRUN, KSTET challenges.
- Reviewed egg hunters
Week 5 (After the lab ended)
- Organized notes.
- Created spike templates.
- Created exploit templates.
- Created python scripts for partial automation.
My lab time ended November 19, 2018 and I schedule my exam last November 23, 2018.
Exam
When I took my OSCP exam last October 2017, I failed because of not having a plan and schedule. One week after that nightmare, I took my 2nd attempt and was able to pass because I listed down what to do and had a plan. This time, since I expected a similar type of challenge from Offensive Security, I had to work on a plan and schedule. Initially, I planned to take it step by step and putting a reasonable time frame for each challenge.
Planned Schedule
Day 1
03:00 PM – 04:00 PM – Review the instructions
04:00 PM – 07:00 PM – 1st challenge
07:00 PM – 07:30 PM – Break
07:30 PM – 10:30 PM – 2nd challenge
10:30 PM – 11:00 PM – Break
11:00 PM – 04:00 AM – 3rd challenge
04:00 AM – 11:00 AM – Sleep
11:00 AM – 12:00 PM – Preparation
Day 2
12:00 PM – 03:00 PM – 3rd challenge – continuation
03:00 PM – 03:30 PM – Break
03:30 PM – Onwards – Last challenge
The schedule that I made here was just an estimate so I can limit myself if ever I don’t get something out of one challenge. This was to prevent myself from wasting time.
When the exam started, I was able to finish the first challenge early. It took around an hour so I proceeded with the second challenge. Two hours later, I was sure that I already have the correct solution for the second task because it worked on my VM but it didn’t work on Offsec’s so I had to continue. By around 10:00 PM, I was able to finish the third challenge and started working on the last one. Two hours past midnight or about eleven hours from the time I started the exam, I found a potential entry point for the last challenge but I was already tired so I went to sleep.
By 08:00 AM, I started working on it again but since I still left the 2nd challenge unfinished the previous night, I got back to it and after about an hour, I realized that the solution I made was already perfect. I just didn’t follow the instructions carefully to see if it was indeed working. Two hours after noon or around 22 hours from the time I started the exam, I was able to finish the last challenge. It was definitely a time to celebrate on my side but since I loved to sleep, I dived into bed and started with the report by 07:00 PM that same day.
By around 02:13 AM last November 25, 2018, I sent my report to Offensive Security. Had to wait for their acknowledgement email and got it by around 02:36 PM (That’s around 12 hours later) and the results came in the next day:

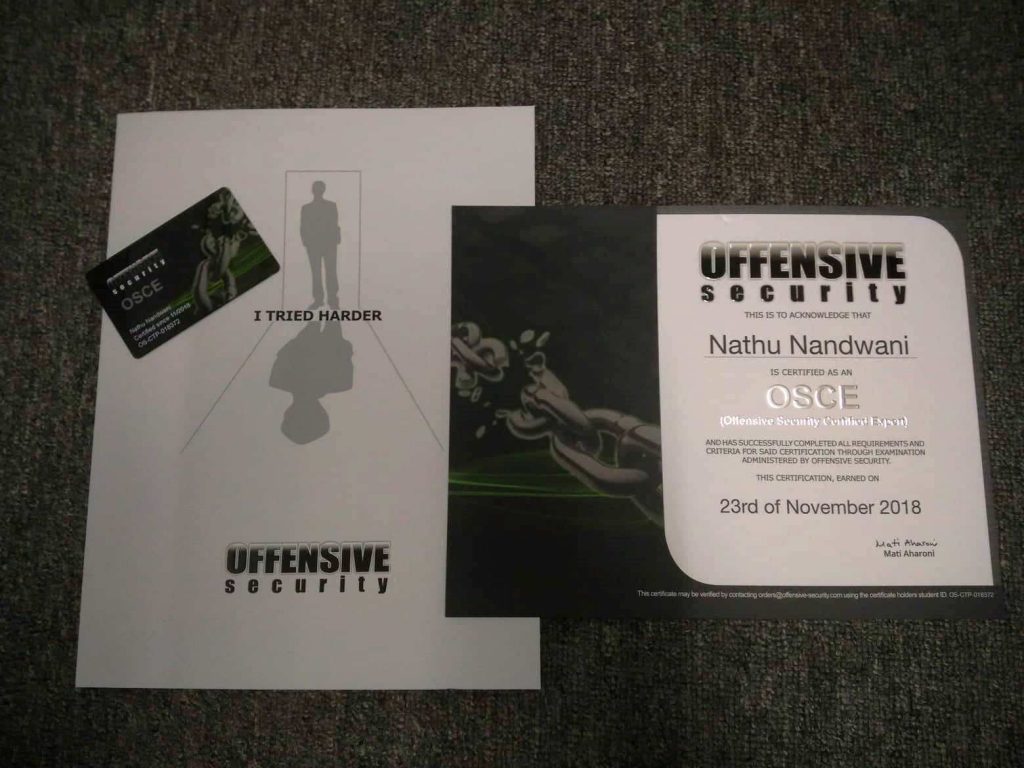
Offsec was able to send the certificate last December 13, 2018 and the package was on my doorstep by December 17, 2018:
This was honestly a painful but one of the most rewarding experiences in my information security career. It is interesting that this certification is titled OSCE or “Offensive Security Certified Expert”. I honestly don’t feel like an expert even with this certificate because of the new things that I learned during the course of this journey. This also made me realize that I’d never call myself an expert because of the fact that I have a lot of things to learn. To give some tips and what to check out for this amazing course:
- I followed Tulpa-Security’s CTP guide. This resource is comprehensive and has all the general things that you need to know.
- After your encounter with a basic stack overflow, it might get confusing to learn about SEH based overflows. I found Sam’s discussion about this to be quite helpful. All others can be found in Tulpa’s guide.
- Patience and practice is the key to this course. Have one but not the other will let you crash and burn.
- Scripting wasn’t necessary but it can be helpful in the course although relying too much on automation might lead you to crash and burn too. During the exam, I was doing things with partial automation. More of what I was doing was still manual to make sure that I don’t miss something important and it paid off.
- I found myself being able to write a few shellcode bytes directly in hex. For example, bitwise AND is 0x25, subtract is 0x2D, relative short jump is 0xEB and so on. This made me work faster during the exam but I didn’t try to memorize these assembly opcodes to machine codes in the first place. These just came popping out because of practice. The more you practice, the more you see these bytes and the more you are able to identify them easier to the point that you get to remember them.
I’m very well interested in pursuing Advanced Windows Exploitation (AWE) leading to Offensive Security Exploitation Expert but it’s quite expensive and the nearest BlackHat event from the Philippines is in Singapore so am not entirely sure for this at the moment.
Congrats Nathu for clearing OSCE . i am Starting with OSCP Next Month 🙂
Thank you so much Pavan! Wishing you the best on OSCP!